MANUEL | GUIDE DE DÉMARRAGE RAPIDE
ClubSport Wheel Rim GT3
A - PACKAGE CONTENT
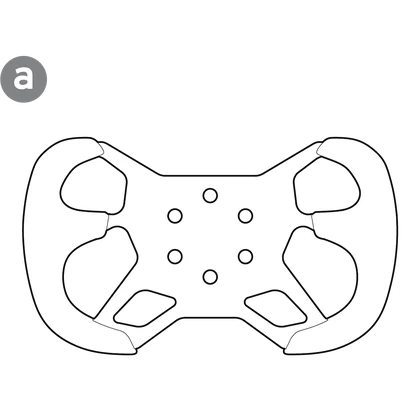
1x Wheel Rim

1x Button Cluster Bracket
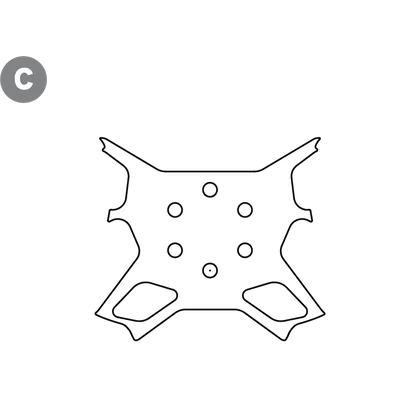
10x Faceplate Sticker
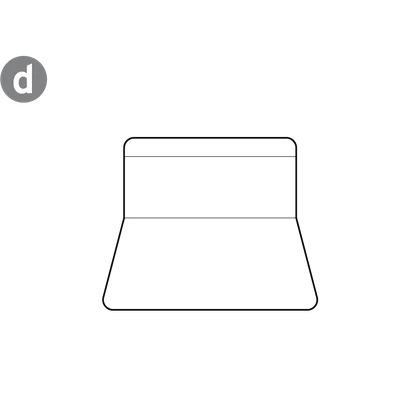
1x Sticker Application Tool
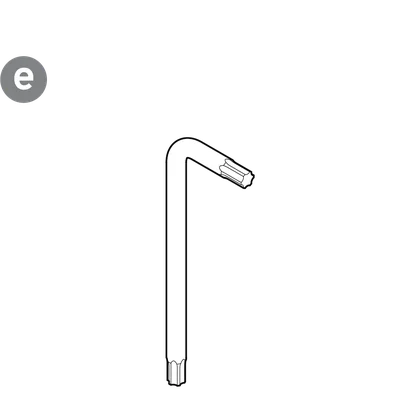
1x Torx Key T20

1x Torx Key T10

1x Allen Key 3mm

6x Bolts - M5 x 12mm
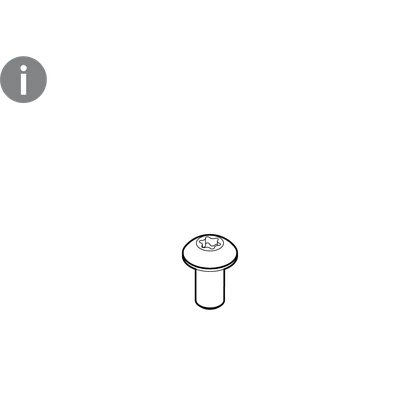
8x Bolts - M3 x 6mm

1x Safety & Compliance Leaflet

|
The following instructions are only applicable for all versions of the ClubSport Universal Hub.
|
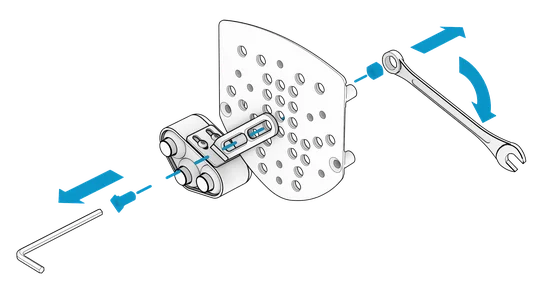
B - HUB PREPARATION
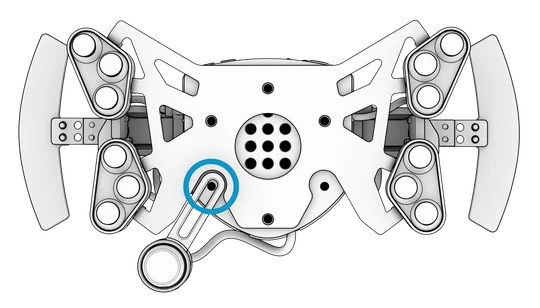
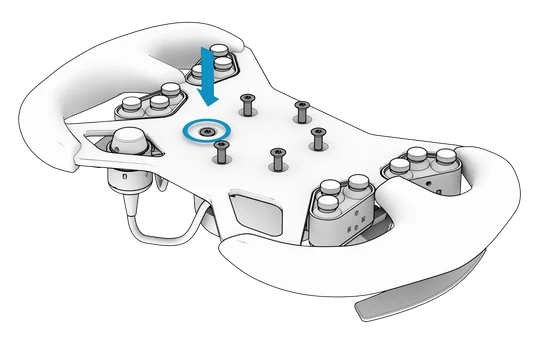
STEP 1 - Remove the highlighted bolts from the hub front cover and rear housing using the specified tools included with your hub.
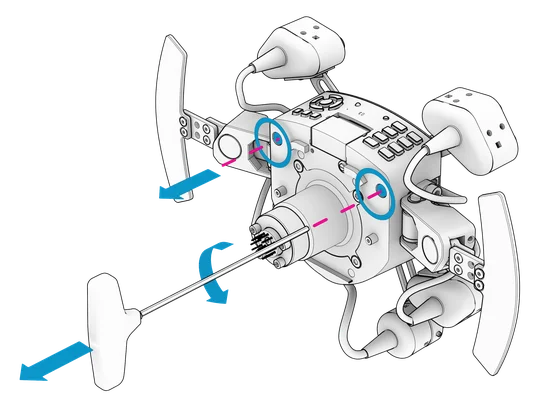

STEP 2 - Remove the hub front cover carefully.
|
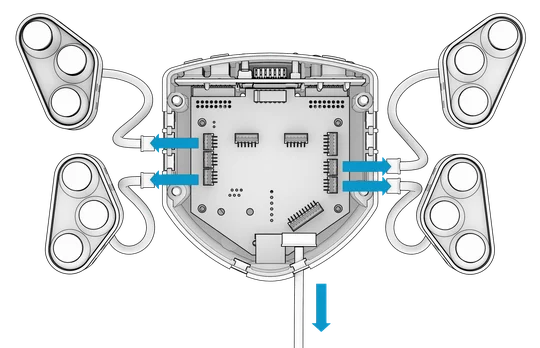
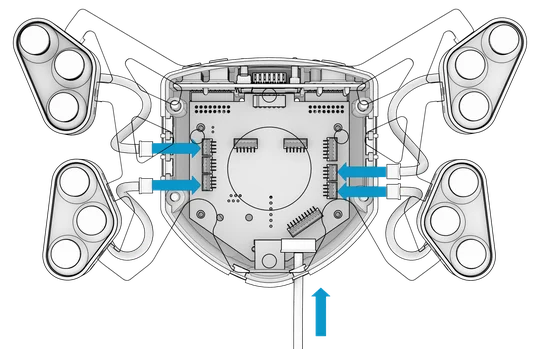
CAUTION: Do not pull on or exert unnecessary strain on the button cluster or FunkySwitch cables.
|

STEP 3 - Remove the button cluster and FunkySwitch cable connectors from the connector plugs on the hub electronic board.
|
NOTE: Take care to re-seat the rubber cable holders before replacing the front plate.
|
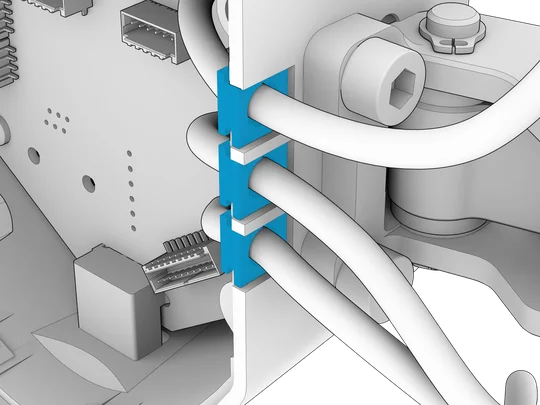
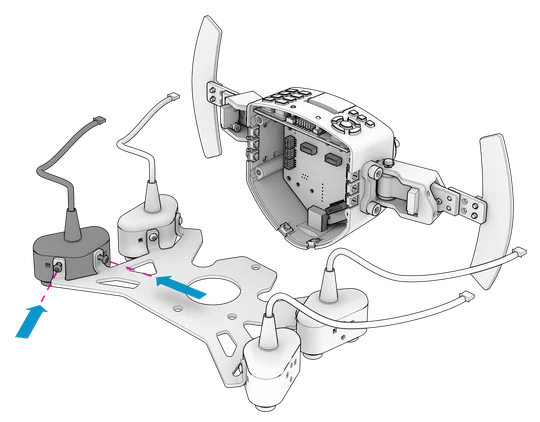
STEP 4 - Remove all button clusters and the FunkySwitch from the hub front plate.
STEP 5 - Remove all button clusters from their mounting arms using the included 3mm Allen key (g).

C - BUTTON CLUSTER BRACKET PREPARATION
STEP 1 - Attach the button clusters to the button cluster mounting bracket (b) using the included bolts (i) and T10 Torx key (f).
STEP 2 - Connect the button cluster and FunkySwitch cable connectors to the originally used connector plugs on the hub electronic board.
|
NOTE: Take care to re-seat the rubber cable holders before replacing the front plate.
|

STEP 3 - Reattach the hub front cover to the hub housing using the specified tools included with your hub.
|
CAUTION: Be careful not to pinch any cables while attaching the hub front cover.
|
|
NOTE: The images below do not show the FunkySwitch, however it is connected during this step.
|
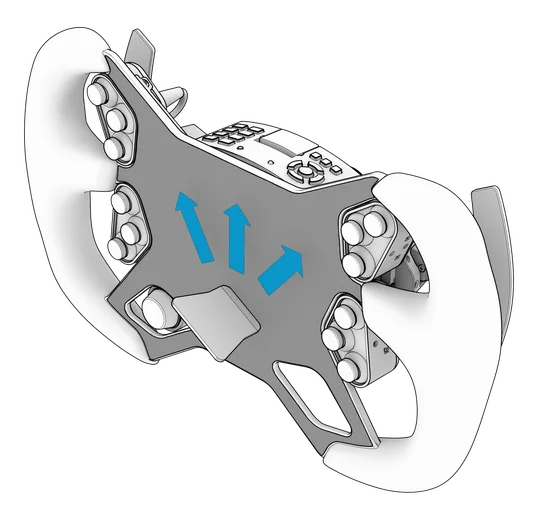
D - WHEEL RIM ATTACHMENT
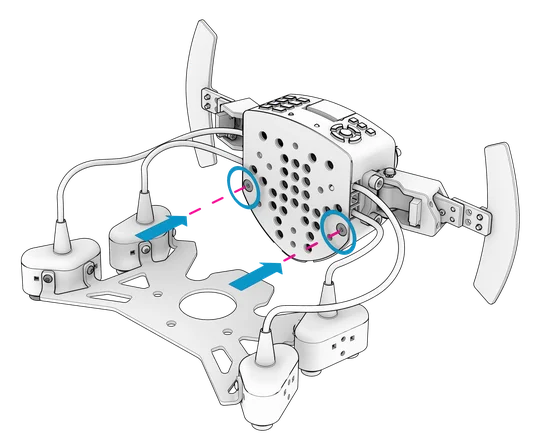
STEP 1 - Place the button cluster bracket (b) over the hub front cover and align the mounting holes.
|
NOTE: The FunkySwitch must be placed on either the left or right side in preparation for the wheel rim attachment as shown below.
|
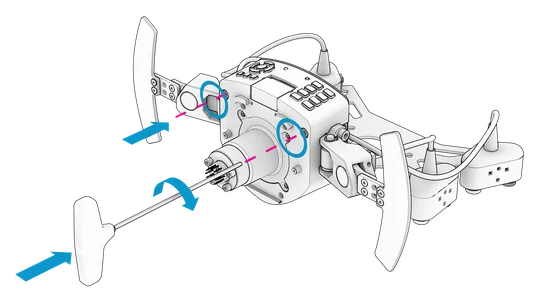
STEP 2 - Place the wheel rim (a) over the button cluster bracket and hub assembly. Ensure that the mounting holes are aligned. Insert all rim mounting bolts (h) and screw them in by hand until about halfway starting with the bolt needed to hold the FunkySwitch firmly in place. Then tighten all bolts using the included T20 Torx key (e).
|
NOTE: Tighten the bolts enough to ensure that the FunkySwitch does not move.
|
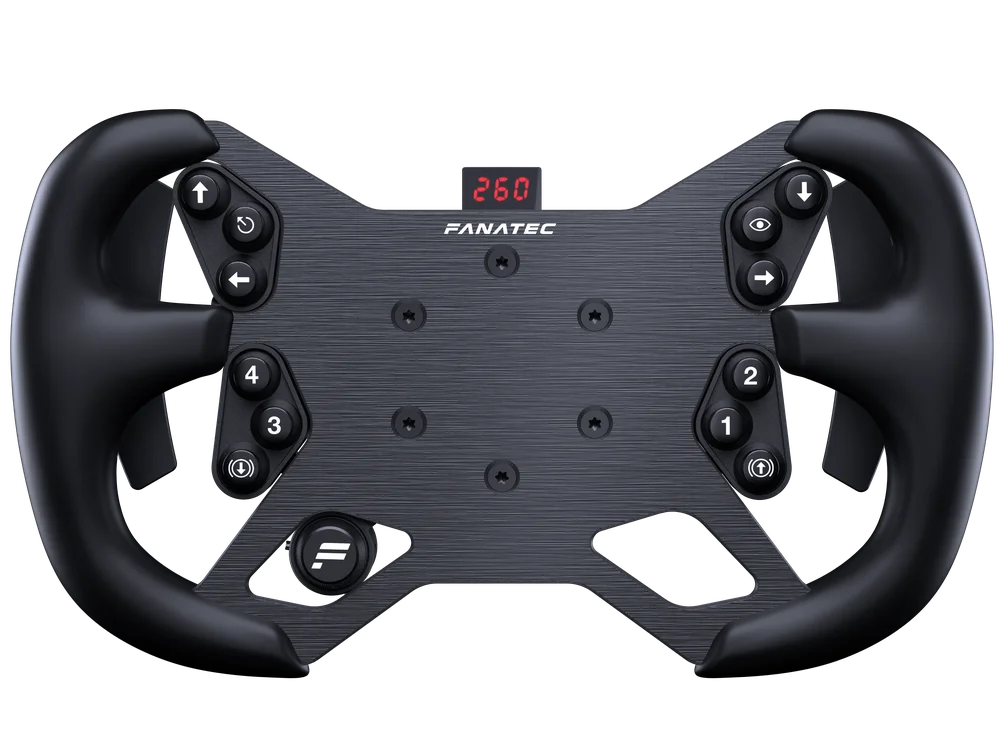
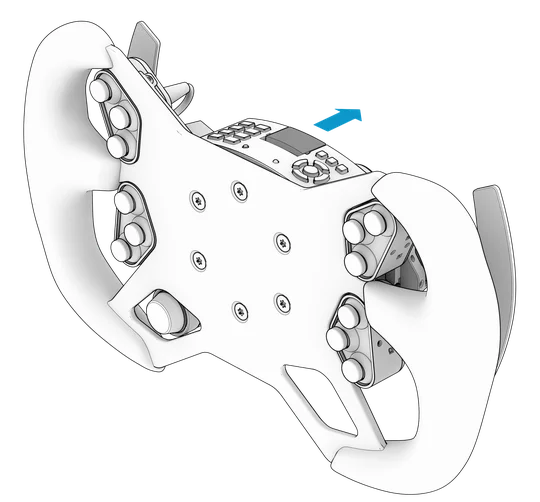
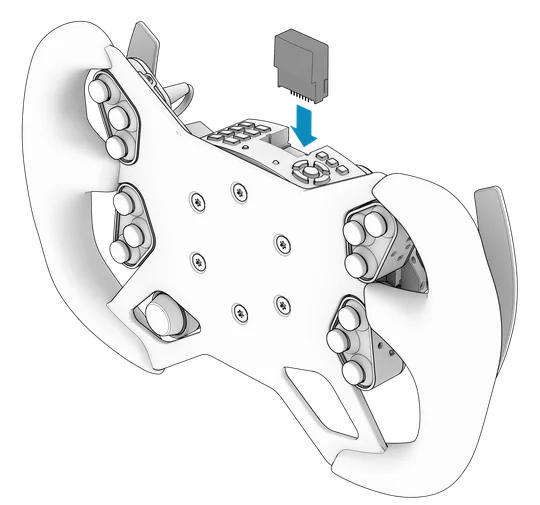
E - CLUBSPORT UNIVERSAL HUB DISPLAY
Place the hub display in the upright position to effectively view information while in use.
|
CAUTION: The hub display does NOT swivel up or down. It's secured by means of a pin and socket system. Carefully pull the display out and reattach in the new position.
|
F - FACEPLATE STICKER APPLICATION
The included faceplate sticker sheets (c) are printable via home and office printer.
|
NOTE: The sticker must be printed on first before removing it from its sheet or applied to the wheel rim.
PAGE SIZE = A4
PRINT SIZE = 100%
|
|
TIP: Laser printers will provide better results than inkjet printers.
|
STEP 1 - Once printing is completed and ink fully dried, remove the sticker from its sheet, accurately align with the wheel rim, and start applying from the bottom of the wheel rim then carefully continue applying upwards.
|
NOTE: Do not press down on the sticker with any force yet as this may cause permanent creases and trap air bubbles.
|


STEP 2 - Once the sticker has been gently applied to the wheel rim, use the included application tool (d) to gently remove creases and air bubbles. Work your way from the bottom to the top of the wheel rim.
G - CLUBSPORT UNIVERSAL HUB BUTTON MAPPING
Due to the change in orientation of the button clusters, alternative button mapping diagram is provided.
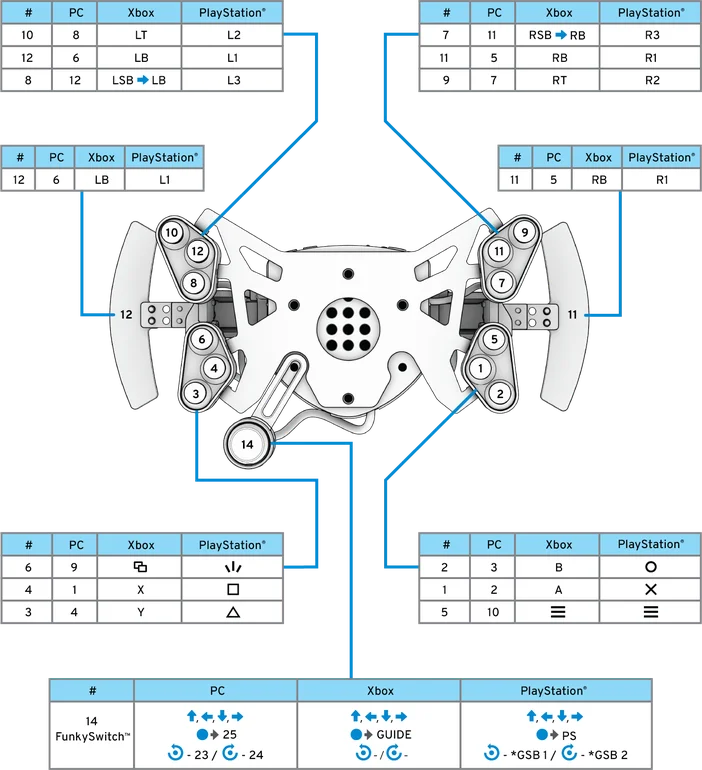
* GSB = Game-Specific Button
H - WARRANTY
The product warranty is provided by CORSAIR MEMORY, Inc. Refer to the terms & conditions of CORSAIR MEMORY, Inc. on Fanatec.com.
I - LEGAL
©2026 CORSAIR MEMORY, Inc. Trademarks belong to their respective owners. All rights reserved. Fanatec is a brand of CORSAIR MEMORY Inc.